Difference between revisions of "LiveView Interface"
Jump to navigation
Jump to search
Zkatzadmin (talk | contribs) (→Instructions) |
|||
| (2 intermediate revisions by 2 users not shown) | |||
| Line 7: | Line 7: | ||
[[File:LiveControl.PNG]] | [[File:LiveControl.PNG]] | ||
<li>The main page will show the name of the account you are currently logged in to on the heading of the page</li> | <li>The main page will show the name of the account you are currently logged in to on the heading of the page</li> | ||
| − | <li>To access your user "Profile," list of associated "Accounts," "Configuration" (meaning returning to the admin interface), "Information about | + | <li>To access your user "Profile," list of associated "Accounts," "Configuration" (meaning returning to the admin interface), "Information about LiveDC," and "Signing Out" of LiveView, click the LiveDC logo in the left-hand corner</li> |
| − | [[File: | + | [[File:Page.png|900px]] |
<ol type="a"> | <ol type="a"> | ||
<li>Profile: In the navigation menu (left-hand side) is where you can access and configure your LiveDC profile</li> | <li>Profile: In the navigation menu (left-hand side) is where you can access and configure your LiveDC profile</li> | ||
| Line 14: | Line 14: | ||
<li>Change your email address/password</li> | <li>Change your email address/password</li> | ||
</ol> | </ol> | ||
| − | <li>Accounts: In the navigation menu (left-hand side) is where you can access the associated accounts that you or your organization have contracted with | + | <li>Accounts: In the navigation menu (left-hand side) is where you can access the associated accounts that you or your organization have contracted with LiveDC. Typically it will only have the name of one account corresponding to your organization</li> |
<li>Configure: In the navigation menu (left-hand side) is where you can configure your account. This means, if you have admin rights, you will be taken to the "Admin Interface" to be able to configure the data records within your LiveDC account. You will be able to do the following:</li> | <li>Configure: In the navigation menu (left-hand side) is where you can configure your account. This means, if you have admin rights, you will be taken to the "Admin Interface" to be able to configure the data records within your LiveDC account. You will be able to do the following:</li> | ||
<ol type="i"> | <ol type="i"> | ||
| Line 22: | Line 22: | ||
<li>Modify or create any new data records that correspond with the information in "Extras"</li> | <li>Modify or create any new data records that correspond with the information in "Extras"</li> | ||
</ol> | </ol> | ||
| − | <li> | + | <li>LiveDC: In the navigation menu (left-hand side) is where you can discover more information about LiveDC, including a link to our organizational home page and a timeline of important events and milestones</li> |
<li>Sign Out: In the navigation menu (left-hand side) is where you can end your session in the New UI</li> | <li>Sign Out: In the navigation menu (left-hand side) is where you can end your session in the New UI</li> | ||
</ol> | </ol> | ||
Latest revision as of 11:47, 22 April 2019
LiveView Interface
The LiveView is a comprehensive visual experience accessible on any browser window. LiveView is not an app. It can be utilized on any laptop, tablet, or smart phone by accessing the corresponding browser. Essentially, LiveView will take the visuals from our admin interface and push them for consumption in a informative dashboard fashion. Below are the instructions to navigate LiveView:
Instructions
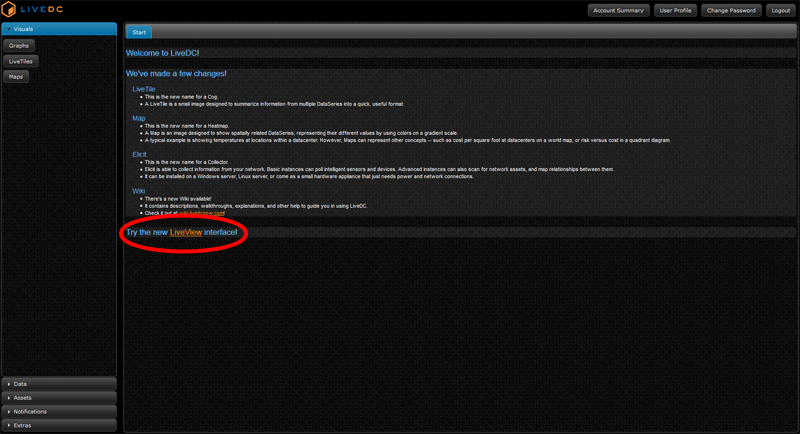
- Click the link on the “Start” tab within the admin interface to access LiveView
- The main page will show the name of the account you are currently logged in to on the heading of the page
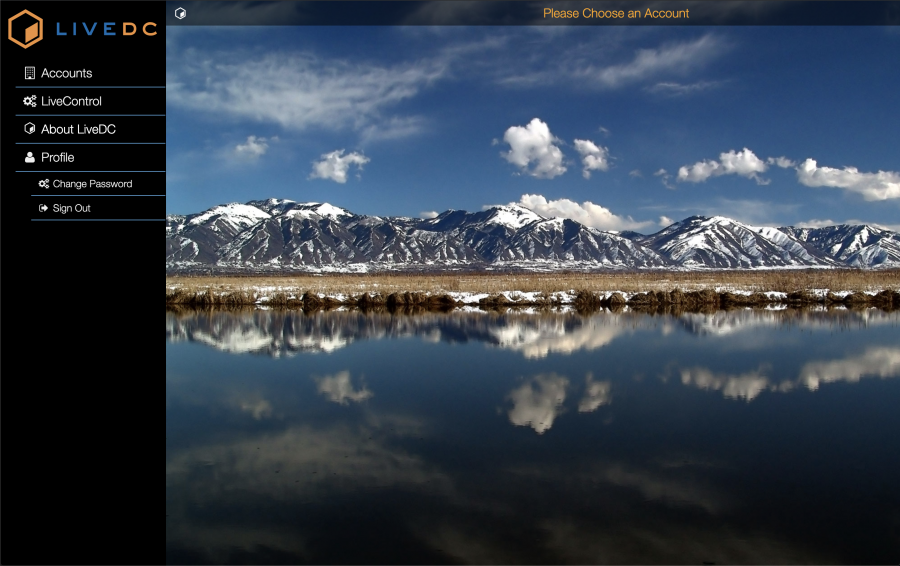
- To access your user "Profile," list of associated "Accounts," "Configuration" (meaning returning to the admin interface), "Information about LiveDC," and "Signing Out" of LiveView, click the LiveDC logo in the left-hand corner
- Profile: In the navigation menu (left-hand side) is where you can access and configure your LiveDC profile
- Change your email address/password
- Accounts: In the navigation menu (left-hand side) is where you can access the associated accounts that you or your organization have contracted with LiveDC. Typically it will only have the name of one account corresponding to your organization
- Configure: In the navigation menu (left-hand side) is where you can configure your account. This means, if you have admin rights, you will be taken to the "Admin Interface" to be able to configure the data records within your LiveDC account. You will be able to do the following:
- Create new LiveTiles, graphs, and maps
- Update or download Elicit/modify or create new data series
- Modify or create hardware, rooms, sites, software, and virtual machines
- Modify or create any new data records that correspond with the information in "Extras"
- LiveDC: In the navigation menu (left-hand side) is where you can discover more information about LiveDC, including a link to our organizational home page and a timeline of important events and milestones
- Sign Out: In the navigation menu (left-hand side) is where you can end your session in the New UI
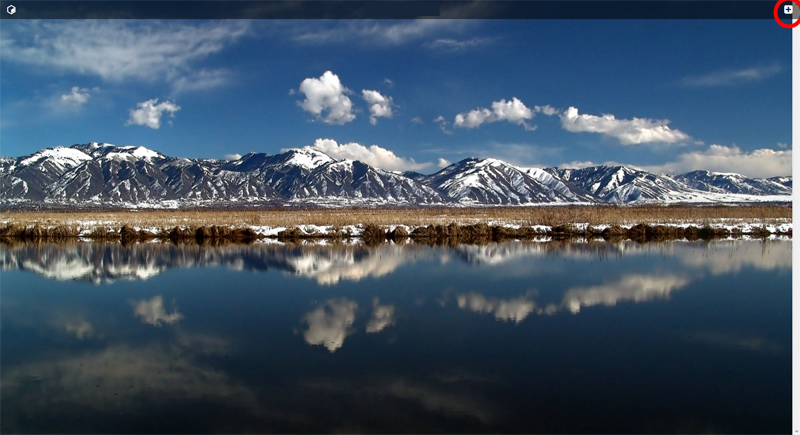
- To utilize the visual dashboard capabilities of the New UI, click the “Plus” button in the top right-hand corner of the new LiveDC platform. Any visual that is created in the admin interface will reside in the new UI’s visual pick list
- You are able to access information specific to each visual by clicking the three (3) dots at the bottom of each visual in the list
- This information will include:
- LiveTile: Scale max, scale min, scale built, scale current, highlights, table entries, and who last modified the LiveTile
- Graphs: Time period, axis label, lines, and who last modified the graph
- Maps: Size, legends used, layers used, and who last modified the map
- Once the desired location is achieved, click “Move”
- It may take a second to update, but the influence should now be in its new location and the associated influence template will represent accordingly
- Open the LiveTile, graph, or map by clicking the name of desired visual and it will be opened in the center of the new UI
- To modify the view of the visual, click the three (3) lines in the top right corner of the visual. This will give you the following four (4) options
- Click the top left corner arrow to return to the basic view of the new UI
- Click the top right corner arrows to expand the visual to the single view mode. This will give you a larger and more close look to more easily view the visual
- Click the bottom left corner arrows to move the visual’s position in the lineup of other visuals. Note: There must be more than one visual open at a time to utilize this function
- Click the bottom right corner “X” to close the visual


