Create a Site
Contents
Creating a Site
A Site is the building or location in which the data center(s) resides. We keep record of the Site for purposes of having multiple Rooms at a Site or multiple Sites for an Account.
Instructions
- If you are already in the “Create Site” window skip to step 3a. If you are not in that window continue to step 2.
- On the navigation menu (left-hand side) click “Assets” and then “Site” this will open a new tab titled “Sites”
- Within the Site tab, in the upper left-hand corner click the “Create” button. A new window will open up called “Create Site”
- Enter the name of the site where the data center room resides in the “Name” line
- Click “Create”
Creating a Container (Room)
A Room is the data center or server / network closet or any other room that you want to visualize. The reason that we call it a Container is based on the mentality of the Asset, whether it is a Cabinet or a piece of Hardware, it is contained by a certain set of boundaries. A Cabinet is contained by a Room, a Server is contained by a Cabinet, and a Server Blade is contained by its Blade Chassis. To make a Container, one must define its dimensions prior to adding an asset into it.
Before creating a Container, you should know the following information:
- Name of the Container (Room name or Cabinet name)
- Left to Right Dimensions of the Container (user defined, but usually in inches)
- Front to Back Dimensions of the Container (user defined, but usually in inches)
- Bottom to Top Dimensions of the Container (user defined, but usually in inches)
- What default view you would like of the Container when it is Visualized (Usually Front)
- What Scale, Left to Right, you would like to see when Visualizing the Container
- What Scale, Front to Back, you would like to see when Visualizing the Container
- What Scale, Bottom to Top, you would like to see when Visualizing the Container
- Would you like to see the Dimensions when Visualizing the Container
Instructions
- On the navigation menu (left-hand side) click “Assets” and click on “Room” this will open a new tab titled “Rooms”
- Within the Room tab, in the upper left-hand corner click the “Create” button. A new window will open up called “Create Room”
- Enter the name of the room in the “Name” field
- Examples: DC Room 1, POD 3, etc.
- Enter any additional information about the room in the “Details” field
- Select the “Site” the room is located in from the drop down menu or create a new “Site” record by clicking on the star button (See “Creating a Site” section for instructions)
- Select the “Container Dimensions” from the drop down menu or create a new “Container Dimension” record by clicking the star button (See “Create a Container Dimension” section for instructions)
- Click “Create”
Creating a Container Dimension
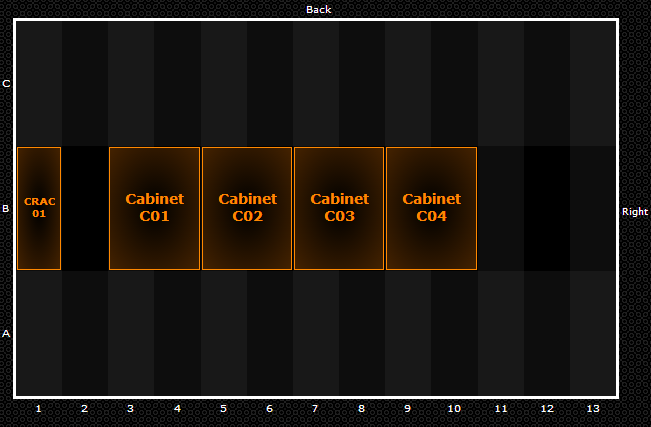
A Container in LiveDC is considered a room, a cabinet, or a blade-server. A container is the boundary that contains the hardware. In this case, the container is the room (the white box). A Cabinet is contained by a Room. A piece of Hardware is contained by a Cabinet. A Blade of a Server is contained by a Blade Chassis. Creating a Container in LiveDC is the initial step into being able to visualize your data center and what Assets reside in it through the LiveDC platform.

Instructions
- If you are already in the “Create Container Dimension” window skip to step 3a. If you are not in that window continue to step 2.
- On the navigation menu (left-hand side) click “Extras” and click on “Container Dimensions” this will open a new tab titled “Container Dimensions”
- In the Container Dimensions tab, in the upper left-hand corner click the “Create” button. A new window will open up called “Create Container Dimensions”
- Enter the name of the container in the “Name” field
- Enter any additional information in the “Details” section
- In the “Left to Right” section click the star button the create “Container Dimension Item”. In the window titled “Create a Container Dimension Item” enter the following:
- Enter the first dimension in the “Name” field
- Enter any additional information about the room in the “Details” field
- Select the “Site” the room is located in from the drop down menu or create a new “Site” record by clicking on the star button (See “Creating a Site” section for instructions)
- Select the “Container Dimensions” from the drop down menu or create a new “Container Dimension” record by clicking the star button (See “Create a Container Dimension” section for instructions)
- Click “Create”