Data Series
Revision as of 10:18, 7 July 2014 by Khackenmiller (talk | contribs)
Data Series are the central backbone of LiveDC. The Data gathered in each Data Series can be pushed to COG’s, Graphs, Heatmaps, Executive Reports, Operational Cost Reports, etc. Data Series can gather Data in many different ways. The LiveDC platform can collect by using SNMPv1, URL Scrapes, Dynamic Sets, Trends, Formulas, Record Counts, and by Manually inputting the Data. In a nutshell, Data Series tie everything together throughout the LiveDC platform.
Information you need to know before setting up a Data Series:
- Name of the Data Series
- Whether the Data is a Number or Text
- What Format you would like the Number to return as
- How often you would like to Poll to return the Data
- How you would like to Poll for Data
Creating a Data Series
- If you are already in the “Create Data Series” window skip to step 3a. If you are not in that window continue to step 2.
- On the navigation menu (left-hand side) click “Data” and click “Data Series”, this will open a new tab titled “Data Series”
- Within the Data Series tab, in the upper left-hand corner click the “Create”. A new window will open titled “Create Data Series”
- In the “Name” field enter the title of the data series
- Examples: Average Temperature Front 10 inch, CO2 Average, POD 3 – Row 5 – Cabinet 6, etc.
- Add additional information about the data series in the “Details” field
- Select the tags that best describe your data series from the drop down menu and clicking the left-hand facing arrow or create a new “Tag” record by clicking on the star button (See “Creating a Tag” section for instructions)
- To remove a tag from a data series select the tag and click the right-hand facing arrow
- Click "Next"
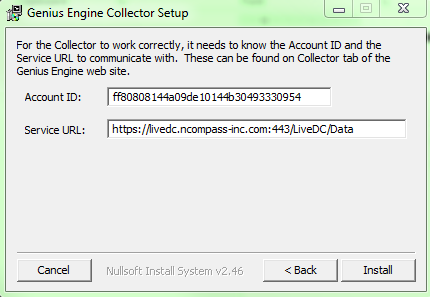
- Enter Elicit ID and URL
- Click "Close"
- Go back to the LiveDC platform, click the "Refresh" button, in the upper right-hand corner, for the new Elicit collector to appear in the Elicit List
- Highlight the new Elicit and click "Edit" to authorize

